OpenCart Newsletter
Your online store lets you send email to individual customer groups. You can use this feature to send newsletters, information about promotions and so on. It’s especially useful because you can send an email to a whole customer group at once, instead of emailing each customer separately. The feature has its own section in the admin called “Newsletter”.
Newsletter – Create and send
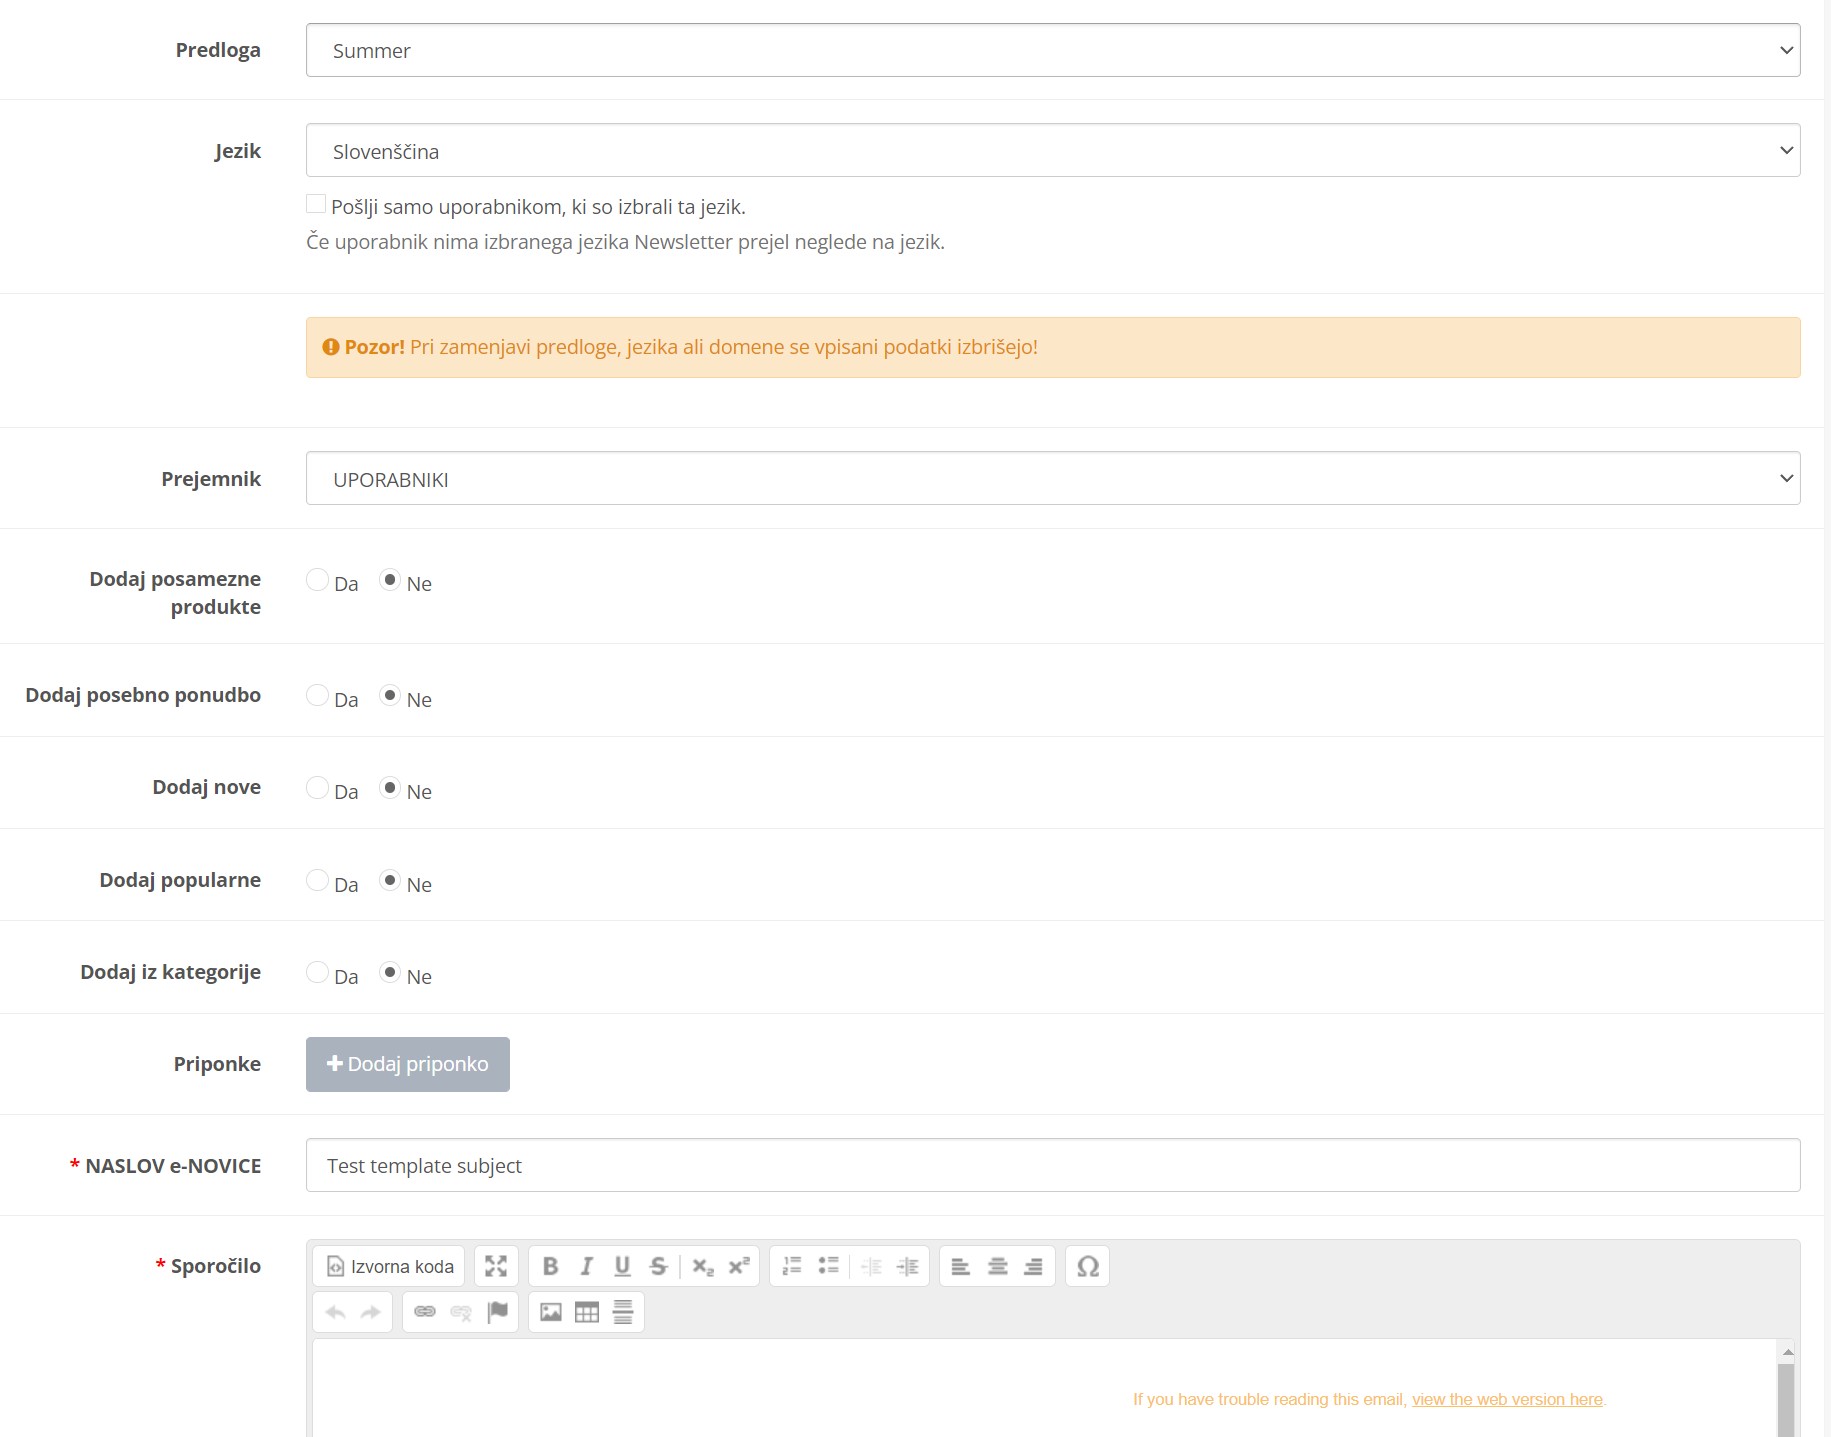
In this part of the Newsletter section (Newsletter > Create and send), you can send formatted emails to individual user groups by setting the following options:
Template
Choose the design template for your email from the drop-down menu.
Language
Set the language of your email here. If you then tick the box below, the email is sent only to users with that language.
Recipient
Choose the users you want to email from the drop-down menu. If you choose “Individual customer groups”, a new field appears where you choose the customer group. The same happens if you choose “Individual customers”.
Add individual products
Add links to products in your online store to the email.
Add special offers
Add active special offers on products, such as discounts and price reductions, to the email.
Add latest
Adds new products from your online store to the email.
Add popular
Adds your online store’s popular products to the email.
Add from category
Adds products from a specific category.
Attachments
Email attachments (images, PDFs, etc.).
Newsletter subject
Enter the email subject in this field.
Message
This field shows a template with placeholder text that you replace with your own, current content. The message is shown to all recipients exactly as it appears in this window.
Text version
Paste all the text content of your message into this field. It’s used if the recipient’s mail app doesn’t load the designed version.
Link to web version
Recipients see a link that opens the email in their web browser. This link is usually already included at the top of the template as “Can’t see this newsletter? Open it in your browser”.
Icons
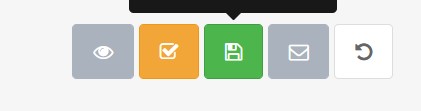
When your email is ready, you can use the following functions in the top right corner.
Icon 1
Click this icon to preview the email.
Icon 2
Click this icon to check, using algorithms, whether your message is likely to go to recipients’ junk or spam folder.
Icon 3
If you want to carry on working on this email later, click “Save as draft” to save it in Newsletter > Drafts.
Icon 4
Click the grey envelope icon to send the finished email.
Icon 5
Click this icon to reset all completed fields.
Newsletter – Drafts
In this part of the Newsletter section (Newsletter > Drafts), you’ll find the email drafts you saved for later editing in “Create and send”. You can sort them by subject, date, recipient, language, store or action. At the top there are also fields for filtering drafts, so you can find the one you want more easily.
Newsletter – Mailing list
In this part of the Newsletter section (Newsletter > Mailing list), you’ll find a list of all subscribers who signed up for your newsletter through the sign-up form in the website footer. If some users aren’t subscribed, you can subscribe them here. Enter the users’ names or email addresses in the “Subscribers” field, separated by commas or one per line. When you’ve finished the list, click the grey + icon to the right of the current window.
Each subscribed user then needs to be approved manually when they appear in the list below. Click the grey “+” icon on the right next to their details.
Newsletter – Users
In this part of the Newsletter section (Newsletter > Users), you’ll find a list of all subscribers and non-subscribers to your newsletter, and you can subscribe any registered user of your online store. Each user has a grey “+” icon on the right; click it to subscribe that user to the newsletter.
Newsletter – Statistics
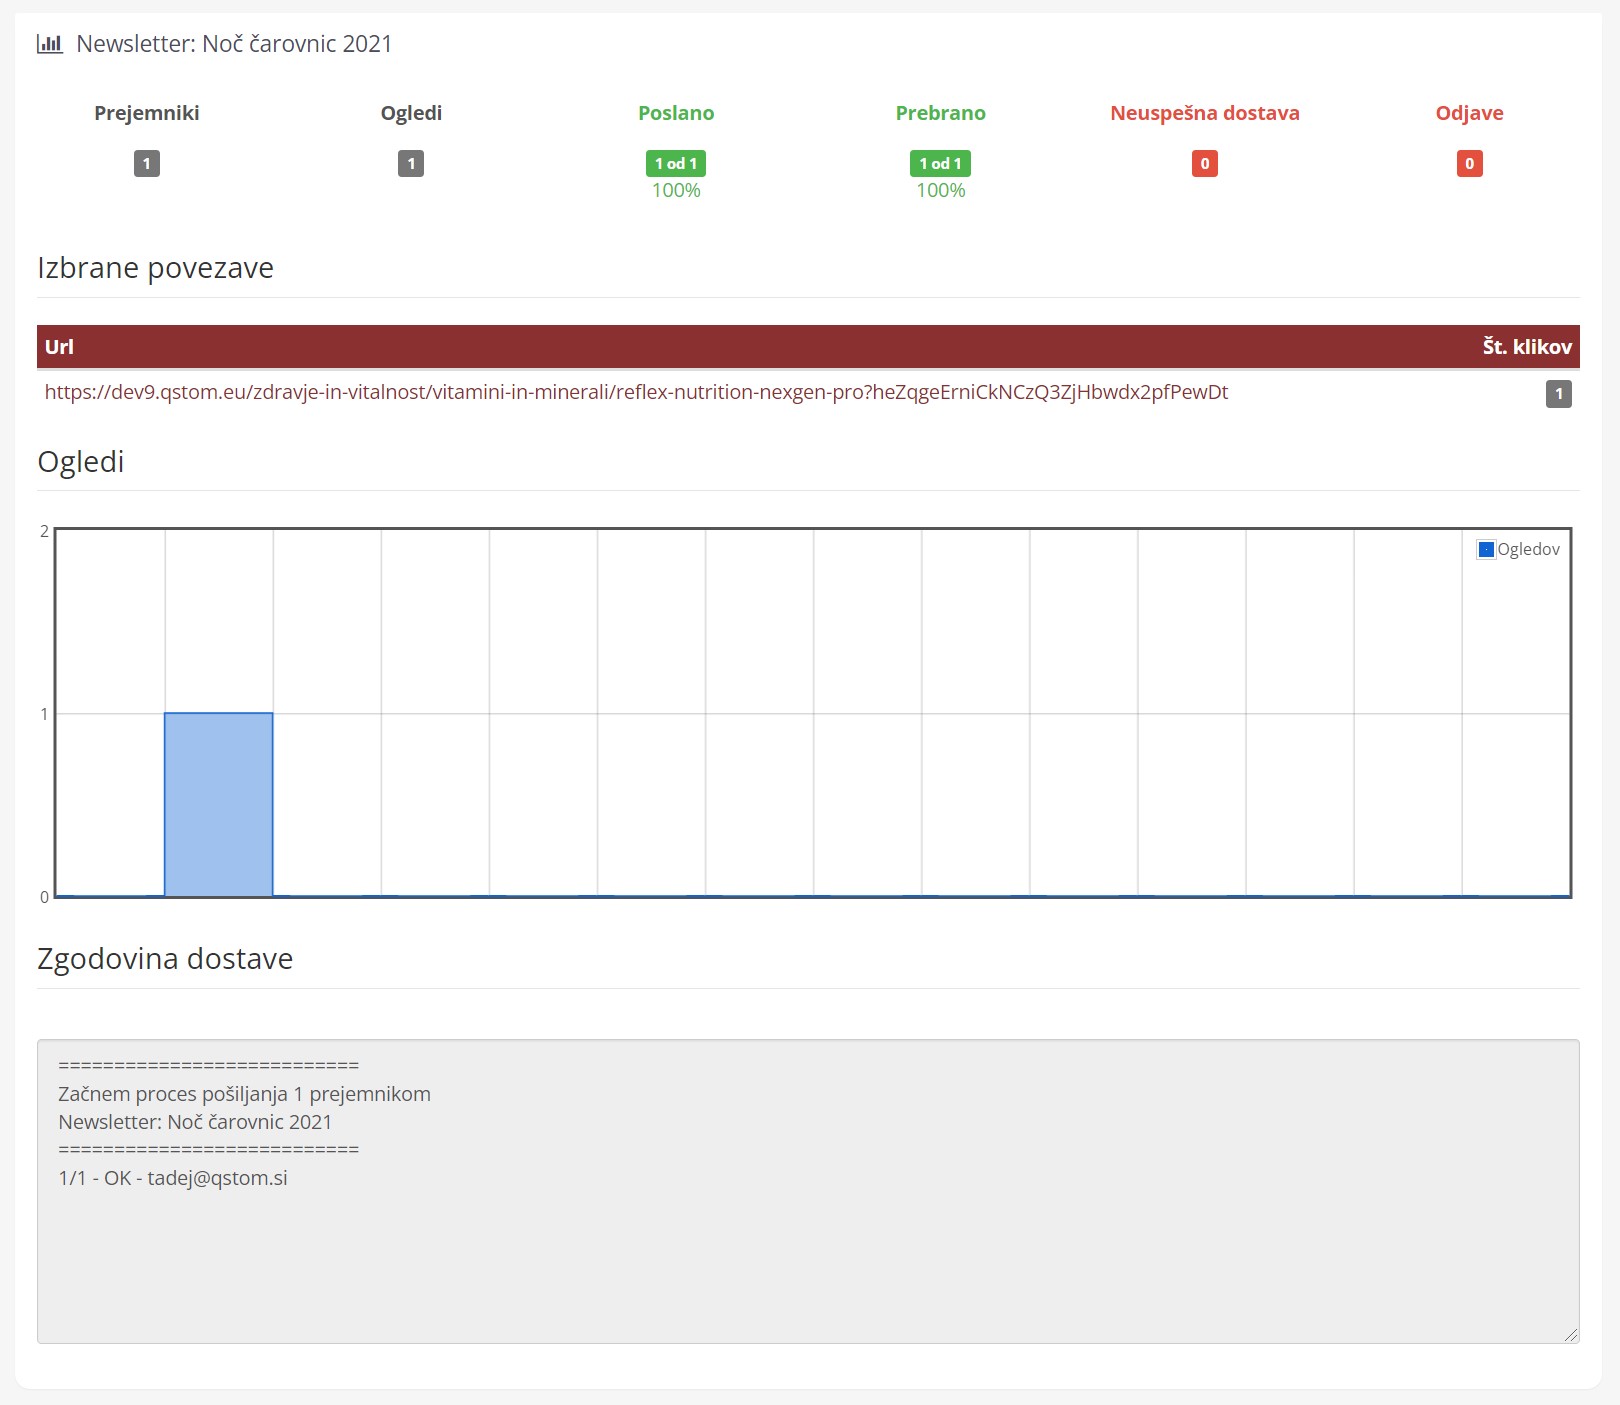
In this part of the Newsletter section (Newsletter > Statistics), you can track statistics for the emails you’ve sent. Choose a sent email from the list and click the details icon on the right to see how it performed.
From this data you can see how many users received your email and how many of them actually read it. You’ll also see the number of failed deliveries and the number of people who unsubscribed after that specific email.
The number of views is shown a little lower down, below the figures, in a chart.
Newsletter – Automated sending
In this part of the Newsletter section (Newsletter > Automated sending), as the name suggests, you can set up recurring or scheduled email sending.
To add a new automated email, click the grey + icon in the top right corner.
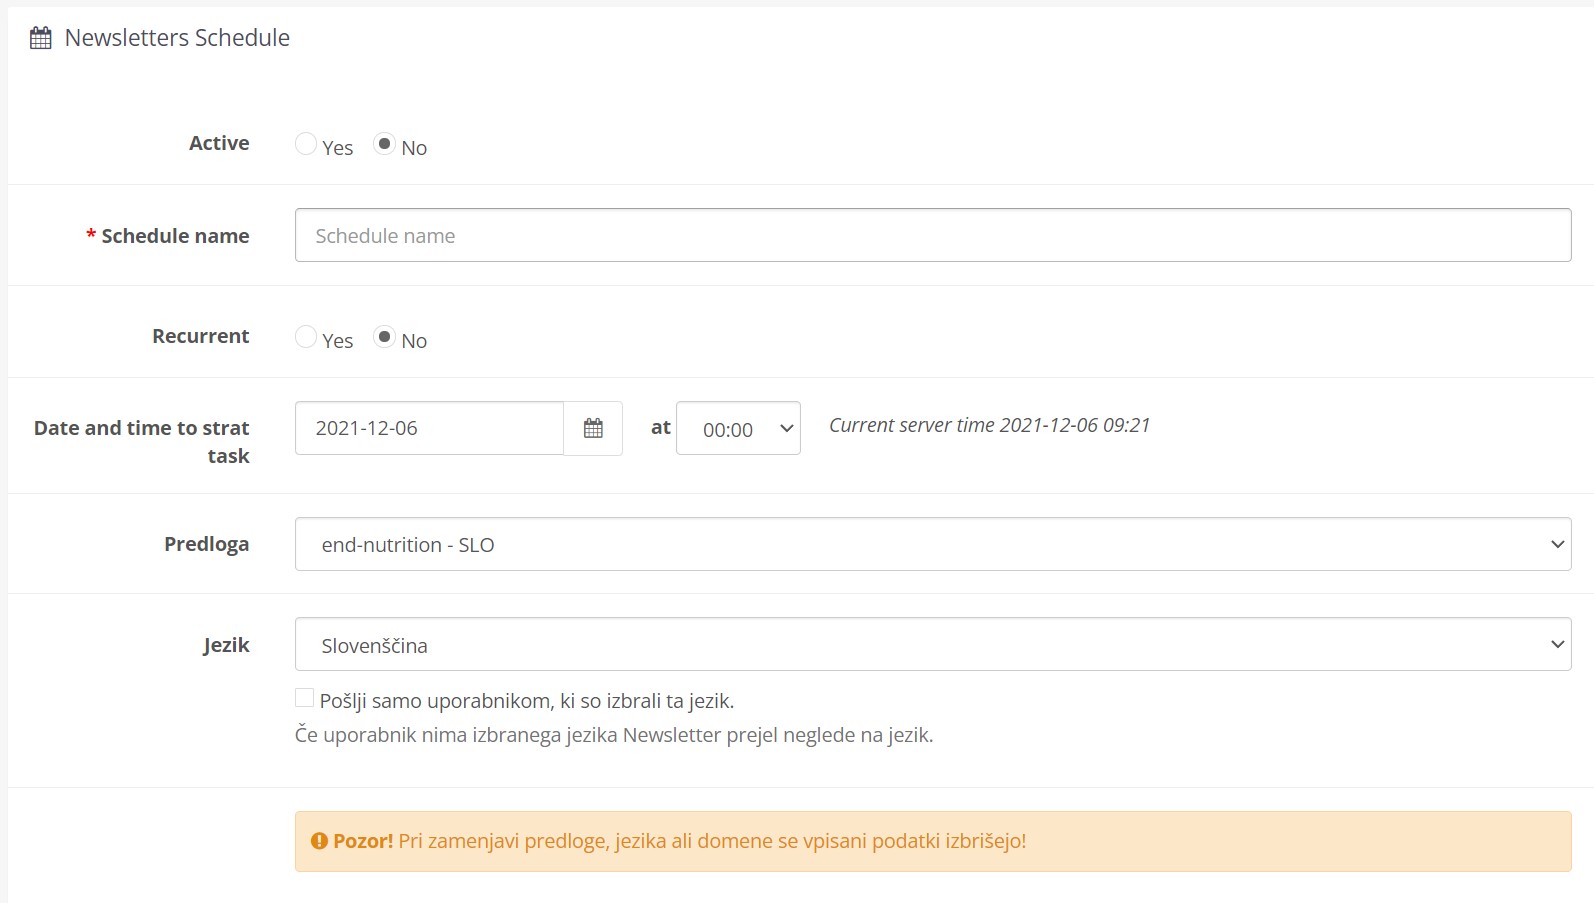
Active
Automated sending enabled or disabled.
Schedule name
The name of the automated email template.
Recurrent
This sets recurring email sending. If you choose “No”, you can choose the date and time the automated email will be sent to the selected users in the next field. If you choose “Yes”, a menu appears for setting up recurring sending. You can choose daily, weekly or monthly sending, and set the time and day if you chose weekly.
All the fields after this are the same as in the “Create and send” section, so this is where you edit all the email content.
Newsletter – Layouts
In this part of the Newsletter section (Newsletter > Layouts), you’ll find all the ready-made design templates for your emails.
Newsletter – Blacklist
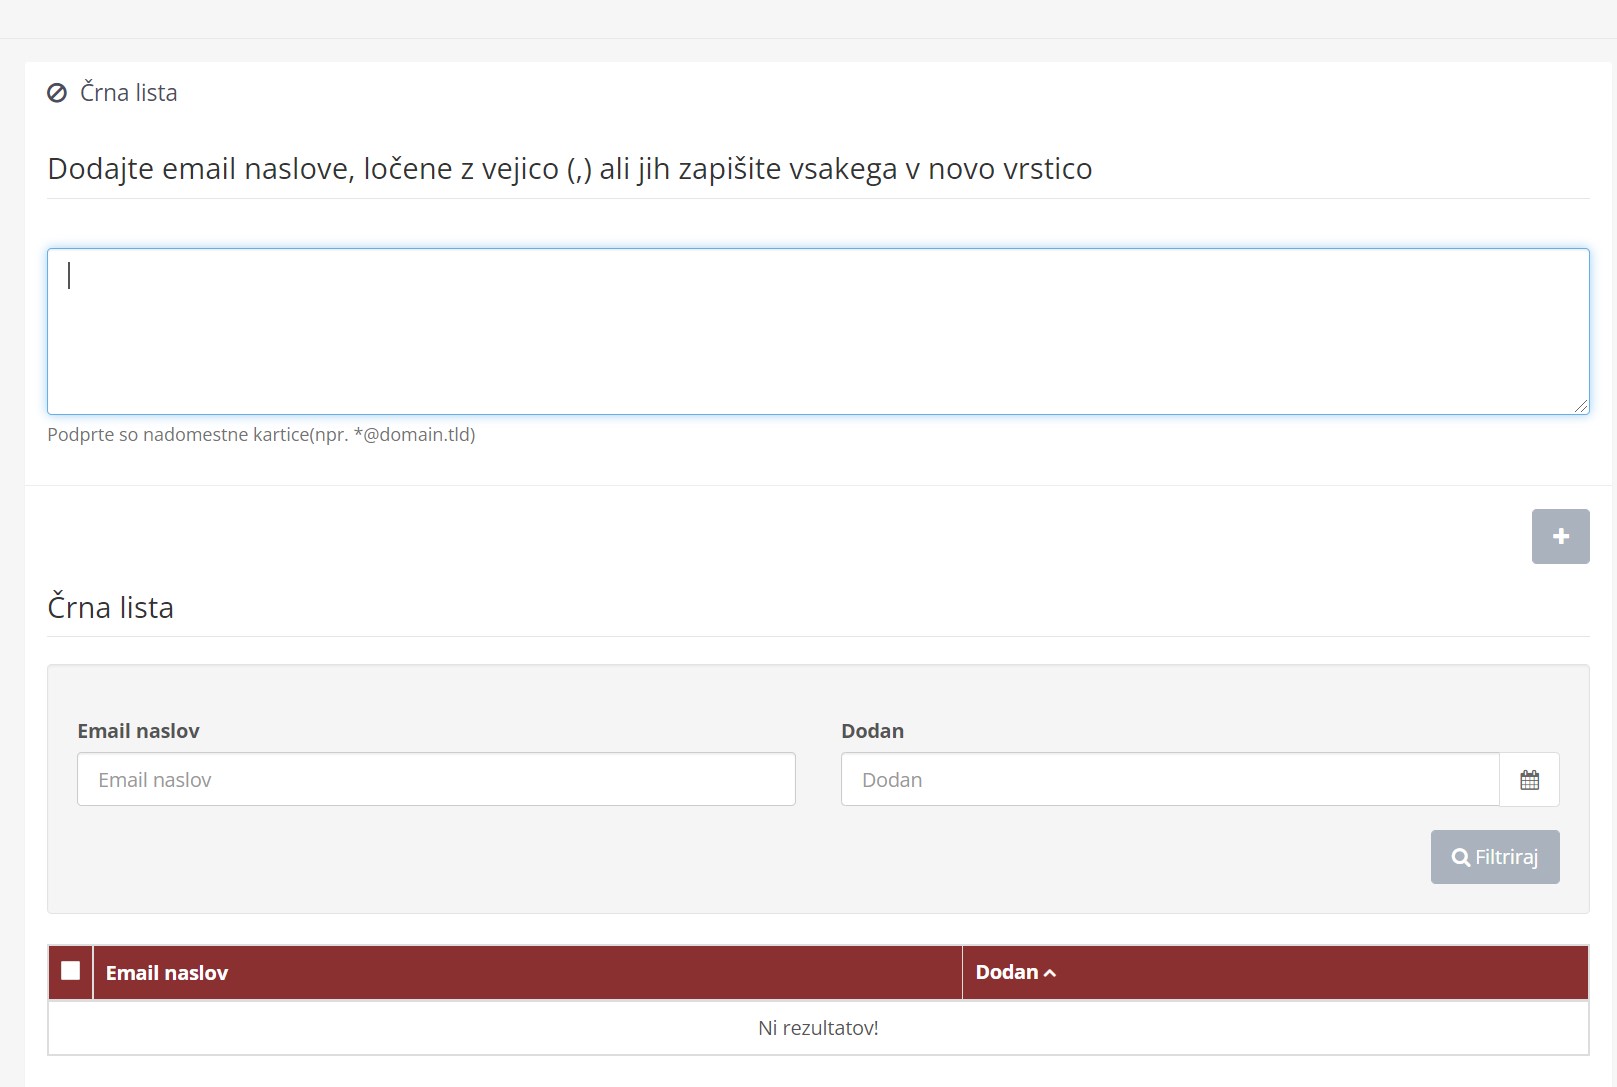
In this part of the Newsletter section (Newsletter > Blacklist), you can add users to the blacklist. Users on this list won’t receive your emails, even if they belong to a customer group you send an email to.
To add users to the blacklist, enter their email addresses in the large input field, separated by commas or one per line. When the list is complete, click the grey + icon on the right and they’ll be added to the blacklist.