
OVERVIEW
Adding images to a post – WordPress
You’ve written the text for a post in WordPress and you’re happy with it. Now it’s worth adding some images. Here’s how to add an image to a post in WordPress.
How to add an image to the post content
1. Open the post for editing in the admin (Posts > All Posts > “your post” > Edit).
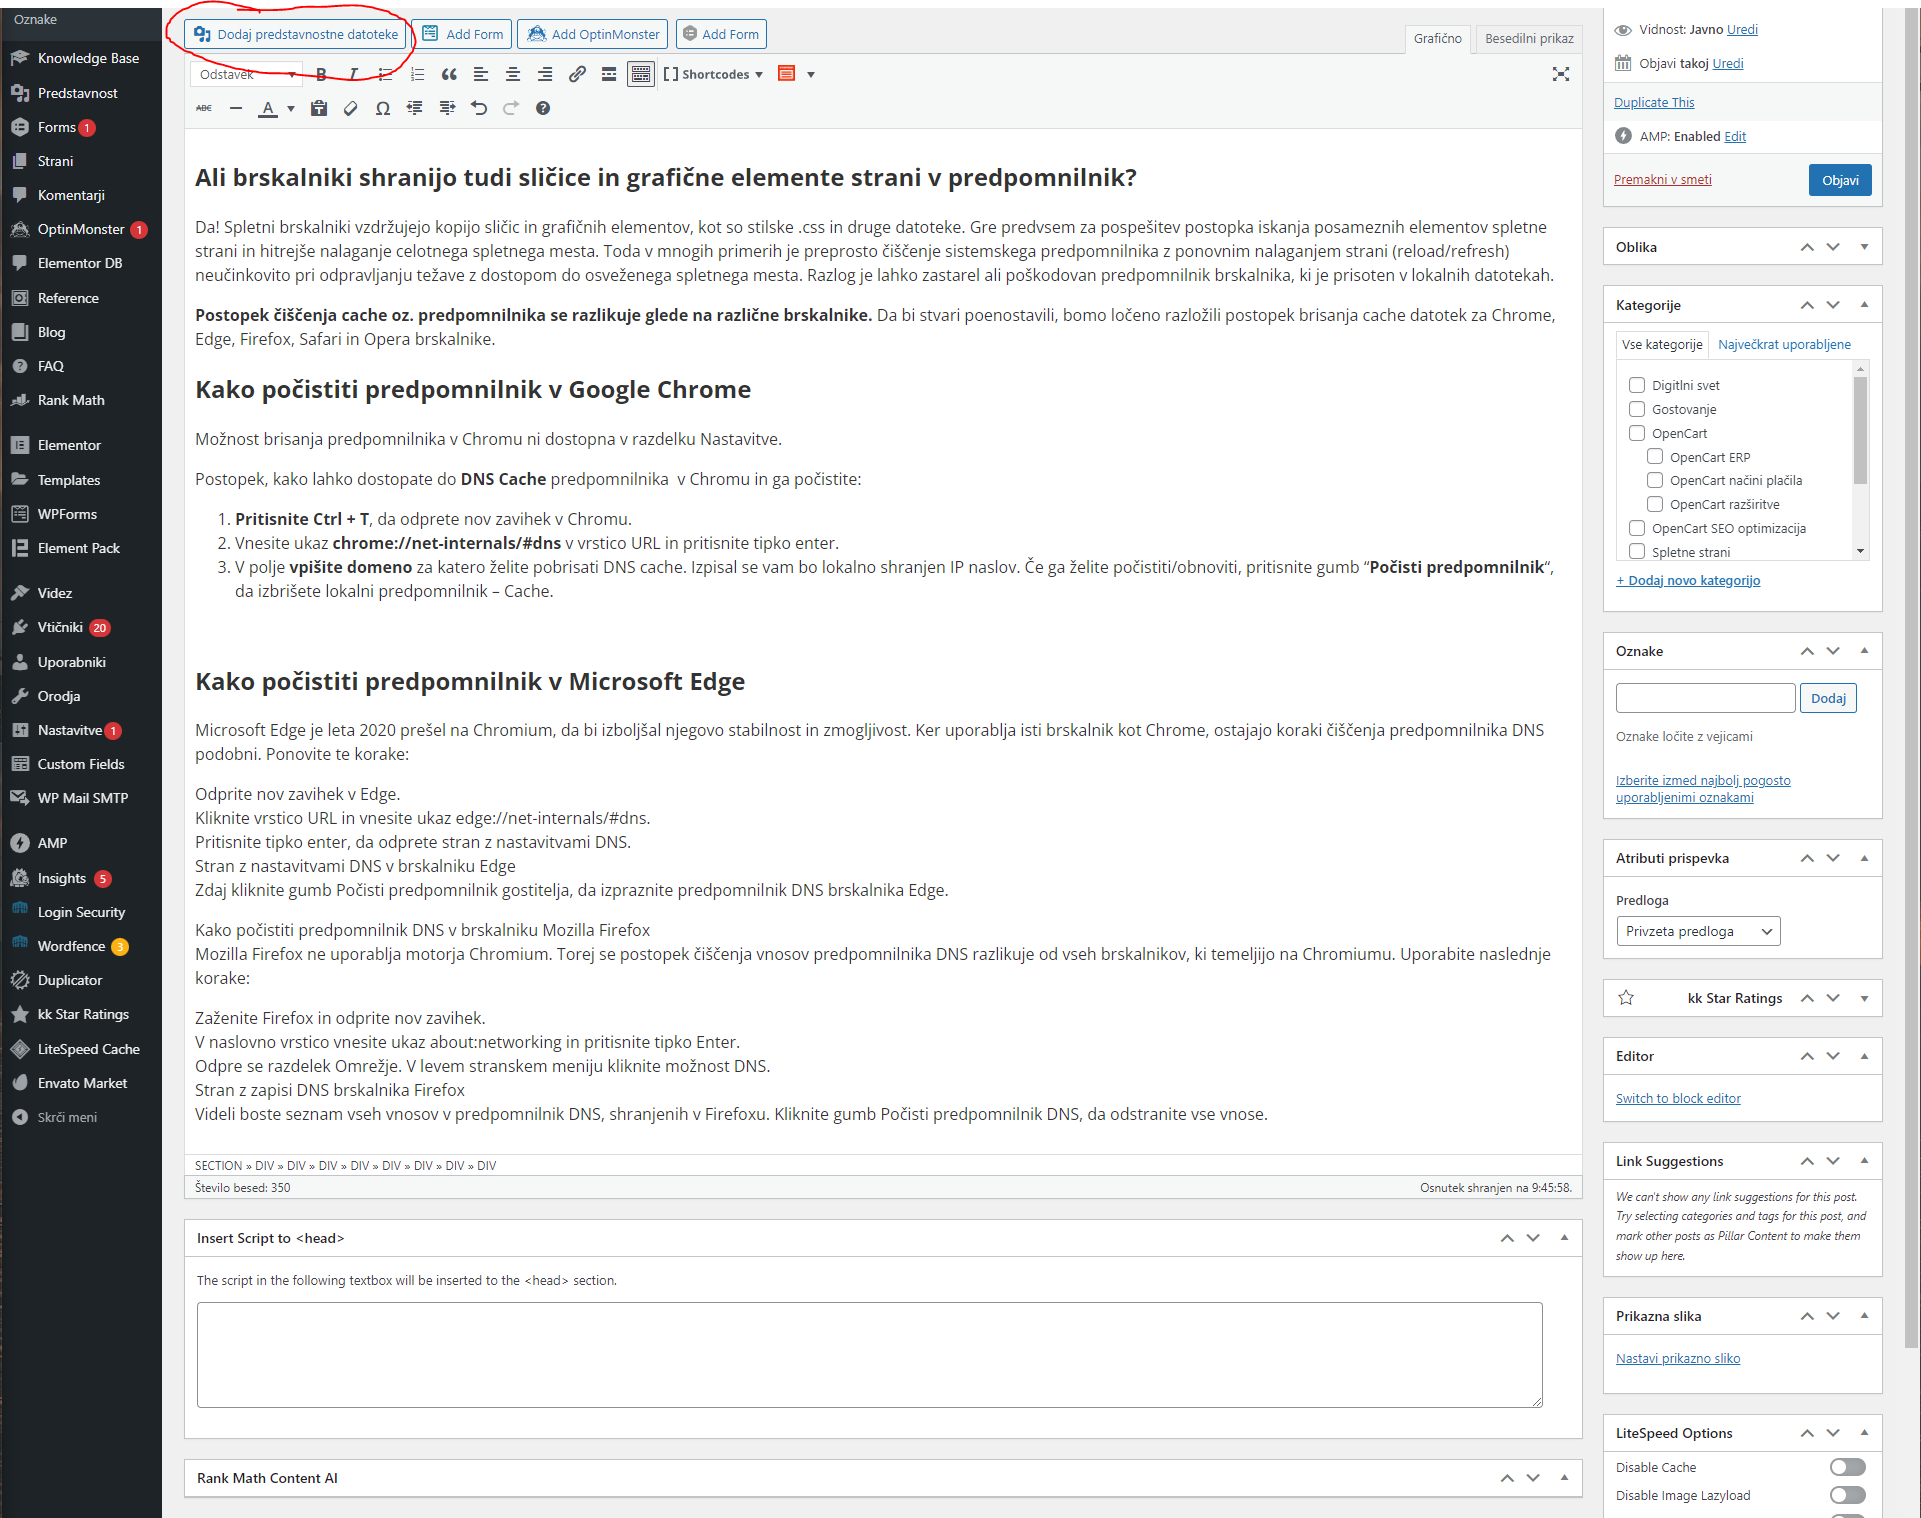
2. Place the cursor in the text where you want to add the image and click the “Add Media” button above the editor.
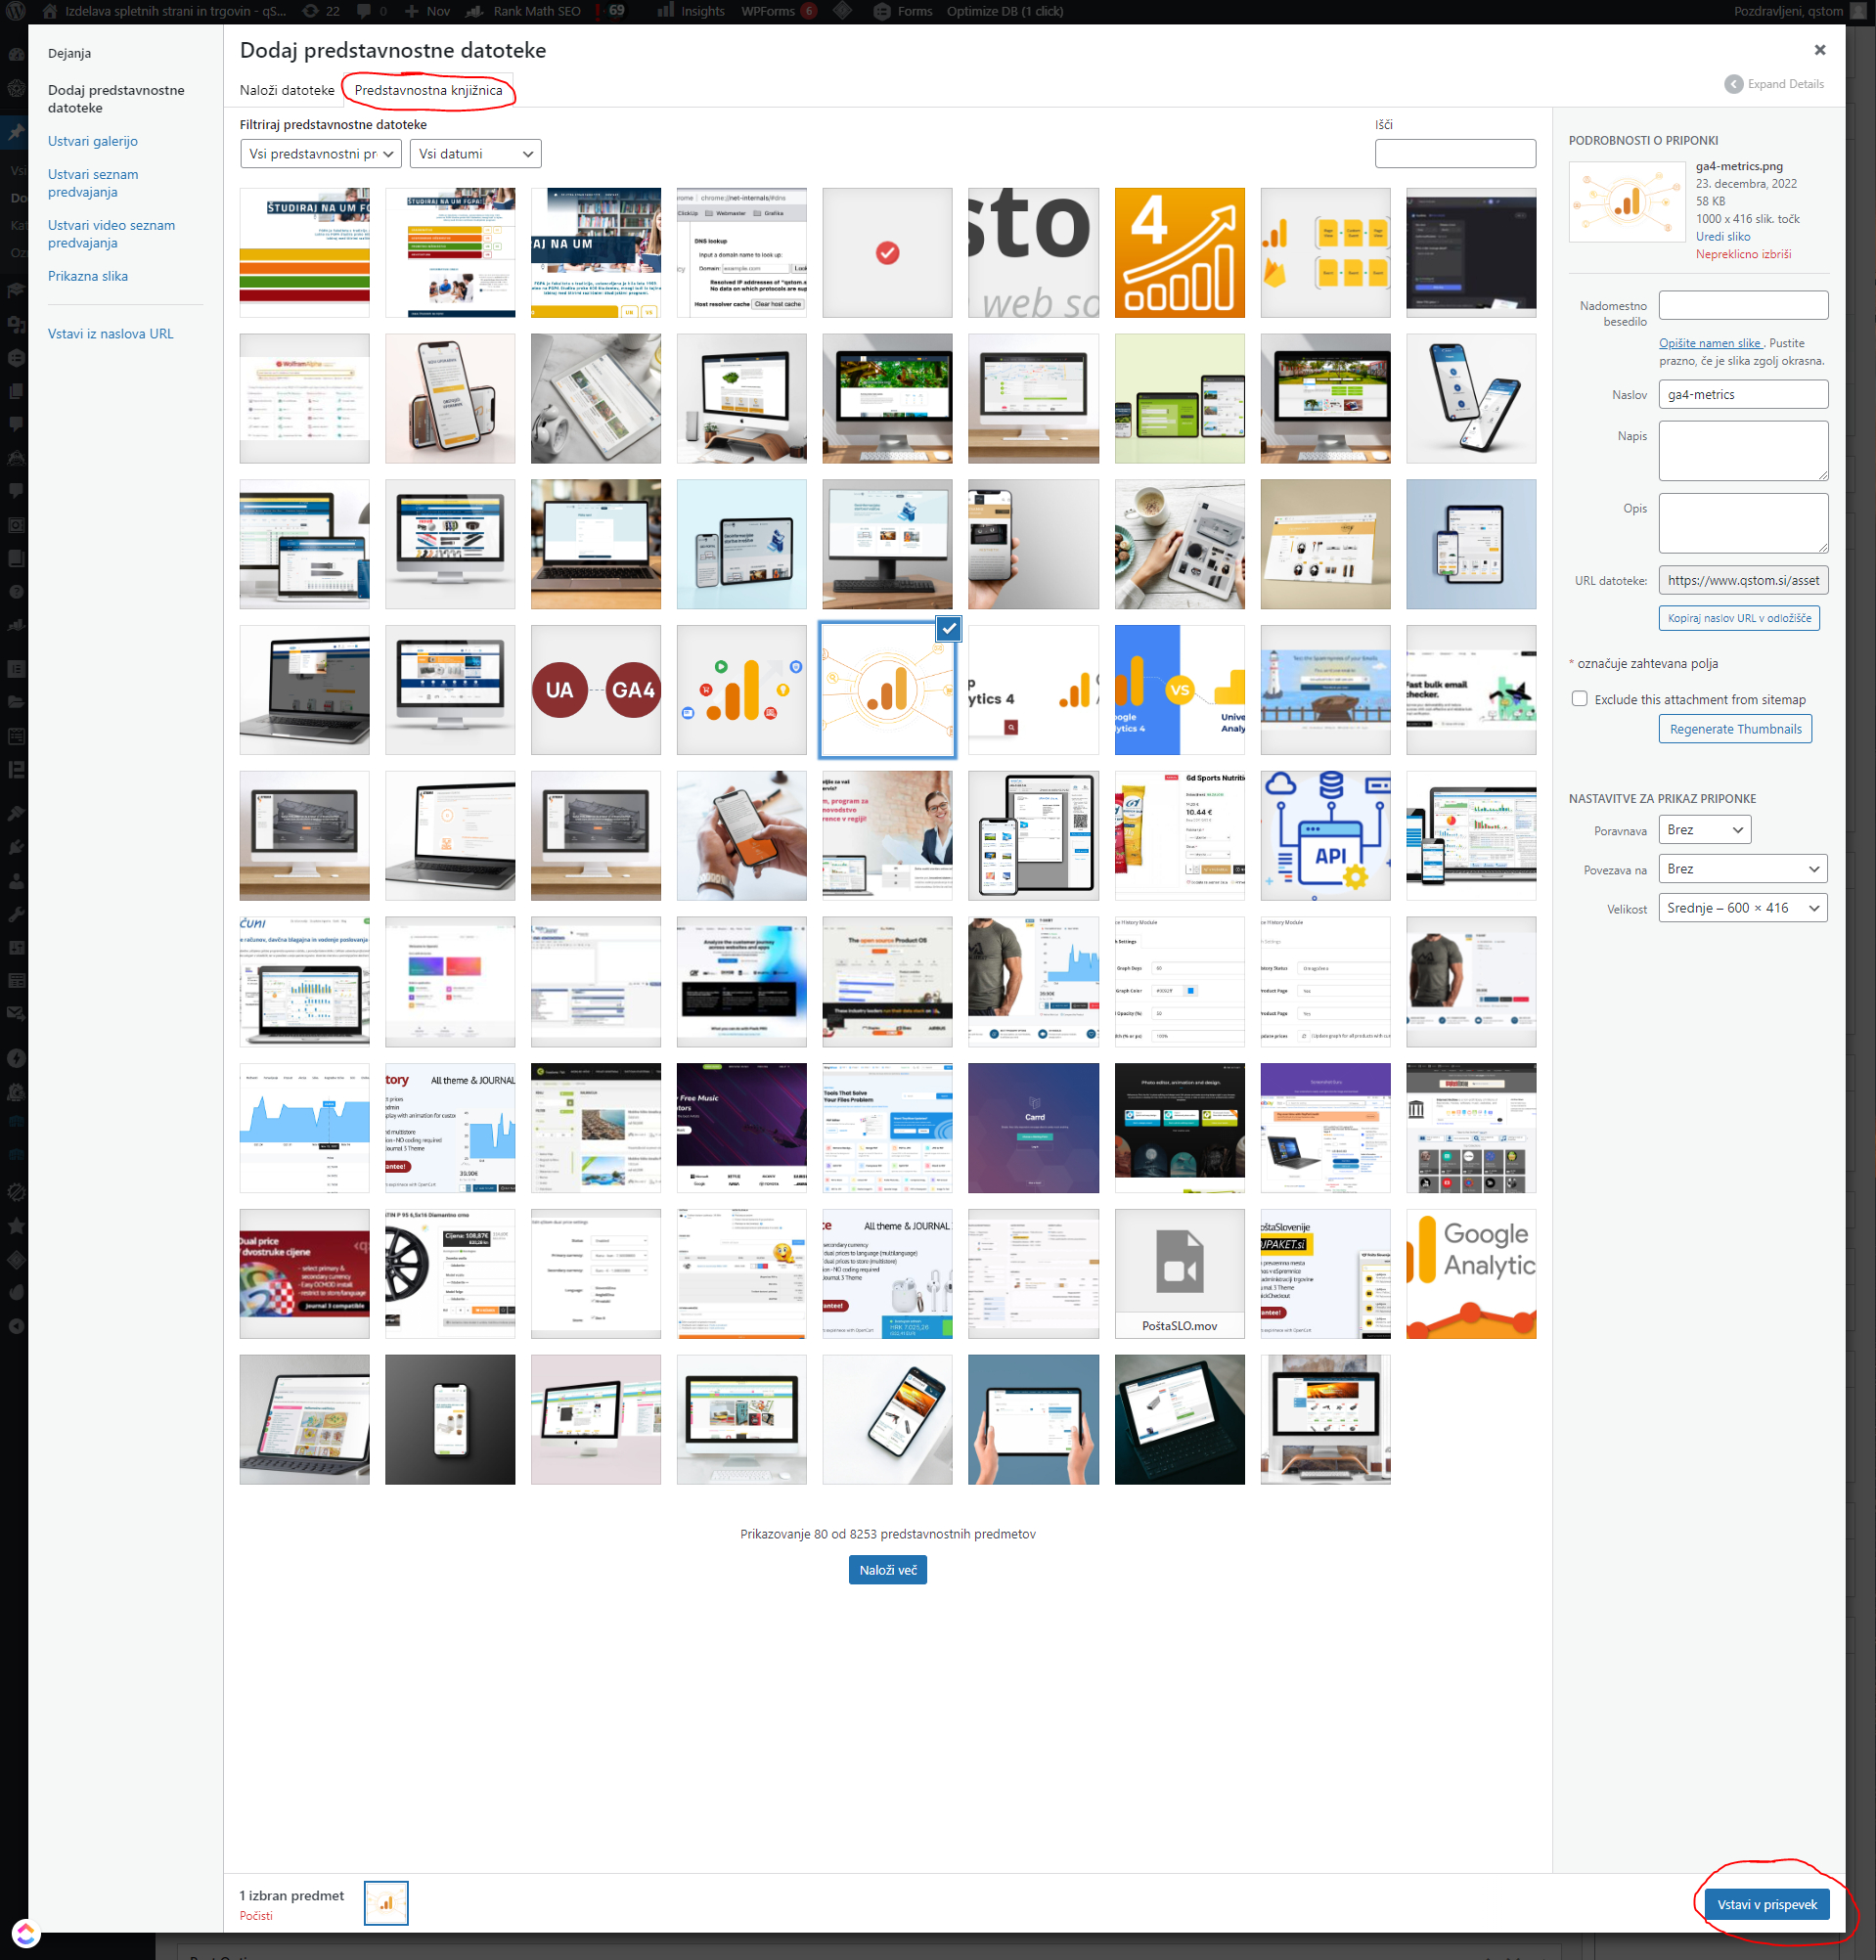
3. In the window that opens, go to the “Media Library” tab, choose the image you want to add to the text and click “Insert into post” in the bottom right corner.
4. The image is now inserted into the text, and you have several options for setting its horizontal position, size and adding text as an image caption.
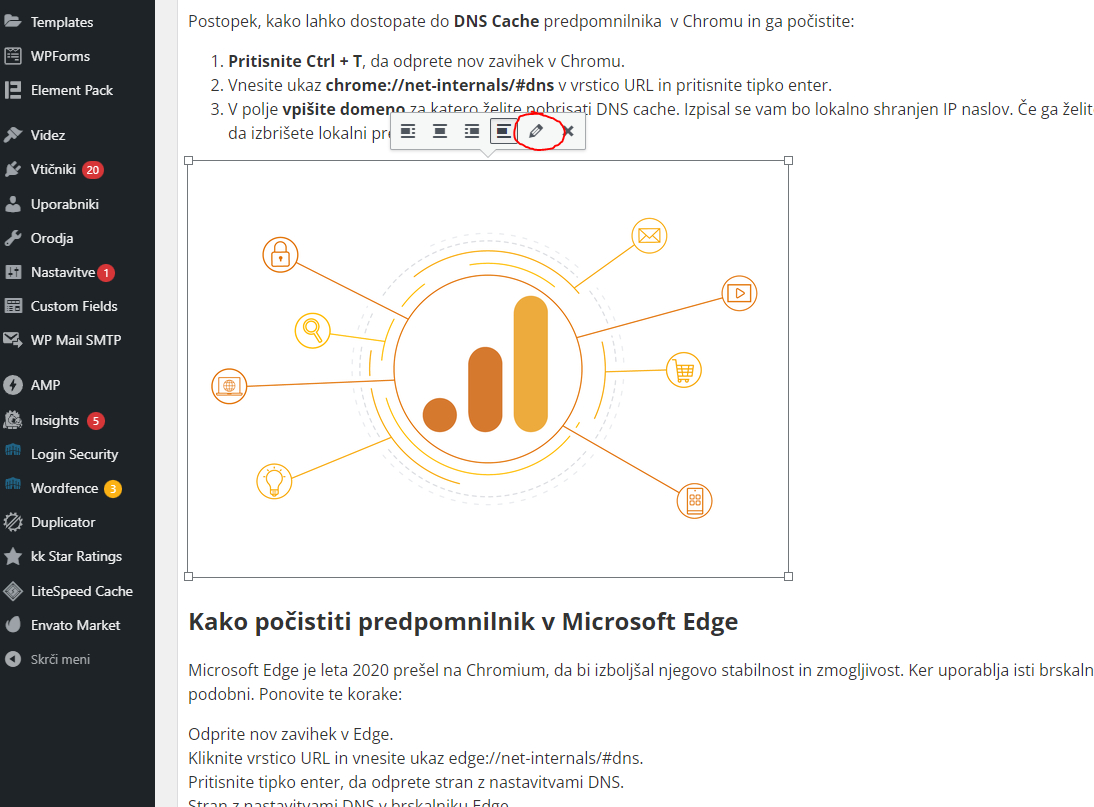
Left-click the image to open the image toolbar. The first icons set the image’s horizontal alignment (choose any), and the pencil icon takes you to more settings.
5. More image settings:
- In the “Caption” field, enter a description shown directly below the image.
- You can also set the horizontal alignment here.
- For size, besides the other options you can choose “Custom Size“, which lets you enter the image width or height manually (the aspect ratio is kept by automatically calculating the dimension you didn’t enter).
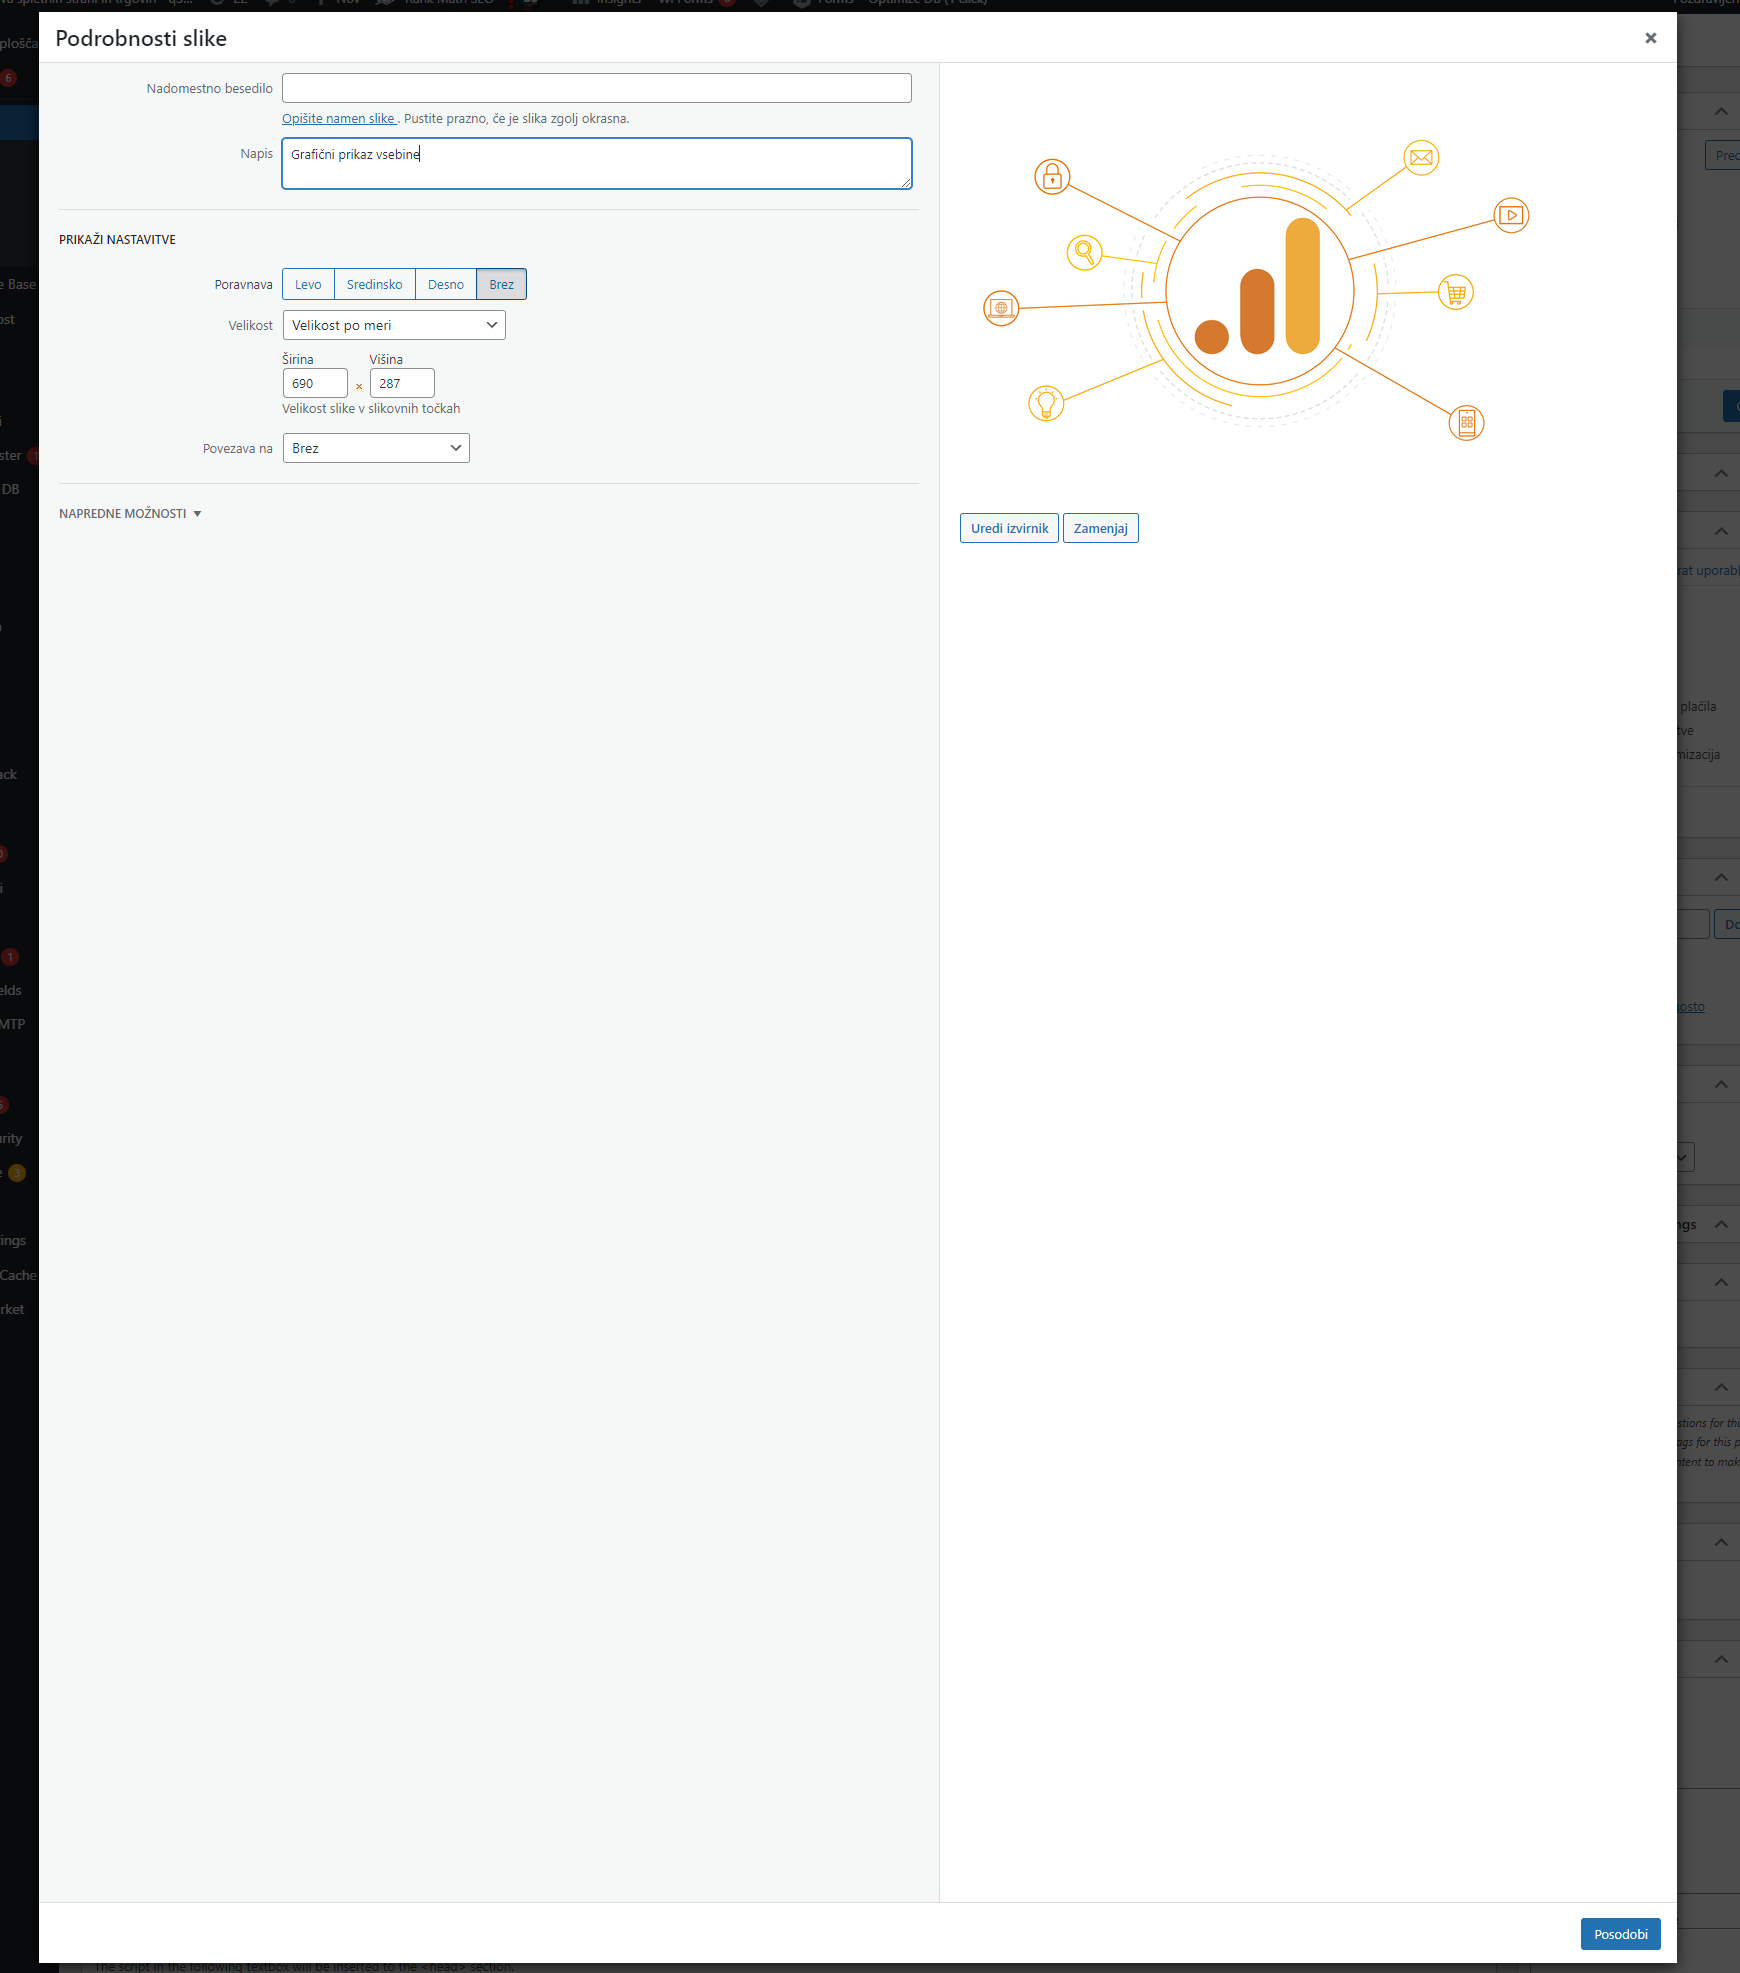
When you’ve made your changes, click Update in the bottom right corner.
When you’re happy with how the images sit in the text, save your changes by clicking Update in the post editor.